In this post
- At a Glance: Knitted Gonks
- Why You Will Love Making These Yarn Gonks
- Materials and Tools for Your Gonks
- Choosing and Preparing Your Yarn
- Step-by-Step Instructions for Your Gonks
- Variations and Customizing Your Knitted Gonk
- Troubleshooting Common Gonk-Making Issues
- Care and Washing
- Frequently Asked Questions
- Displaying Your Finished Handcrafted Gonk
Handcrafted Gonks bring personality, texture, and rustic warmth to your living space. If you want to make your own decorative figures without complex shaping or hard techniques, this step-by-step tutorial teaches you how to construct these characters from the ground up. You will learn how to knit a neat ribbed hat, wrap a full yarn pom-pom, assemble a hanging grey beard, and securely set a smooth wooden nose.
Designed for a beginner skill level, this project takes about 1 hour to complete. Working with simple straight knitting needles and basic yarn crafts, you can build a clean, sturdy ornament that measures width 5.1 in, length 2.8 in, circumference 5.1 in. Because this build contains a small 1 in (2.5 cm) wooden craft bead, note that the finished decorative piece is not suitable for children under 3 due to small parts.
At a Glance: Knitted Gonks
Before casting on your stitches, review the essential technical specifications for this quick home decor project.
| Skill Level | Time | Finished Dimensions | Yarn Weight & Fiber | Needles Required | Key Techniques |
|---|---|---|---|---|---|
| Beginner | 1 hour | width 5.1 in, length 2.8 in, circumference 5.1 in | Worsted weight (size 4) 100% acrylic | Size US 4 (3.5 mm) straight needles | 1×1 ribbing, mattress stitch, pom-pom making, glue assembly |
Why You Will Love Making These Yarn Gonks
Small-scale knitting projects let you practice technical stitch control without committing to weeks of work on a large garment. Knitting the miniature ribbed hat reinforces your tension consistency in standard knit-and-purl columns. Because the hat uses a simple 1×1 ribbing pattern worked flat on straight needles, it provides an accessible way to practice structured decreases and clean mattress stitch seaming.
Beyond the knitting needles, the multi-craft assembly brings mixed media together using straightforward tools. You get to cut, shape, and style yarn into a straight or braided beard while practicing secure hot glue bonding on a rigid internal cardboard core. The final piece delivers a balanced, weighted ornament that hangs neatly from branches, hooks, or decorative wall displays.
Materials and Tools for Your Gonks
- Worsted weight (size 4) 100% acrylic yarn in Rust Orange (Hat & Pom-pom): 30 yds (27 m) / 15 g
- Worsted weight (size 4) 100% acrylic yarn in Heather Grey (Beard): 35 yds (32 m) / 18 g
- Worsted weight (size 4) 100% acrylic yarn in Purple (Accent ties): 5 yds (4.5 m) / 3 g
- 1 round unfinished wooden craft bead with center hole, 1 in (2.5 cm) diameter
- 1 cardboard tube section (e.g., from paper towel roll), 1.5 in (3.8 cm) diameter x 1.5 in (3.8 cm) tall
- Cardboard pom-pom template (pair of 2.5 in / 6.4 cm diameter discs or 2.5 in / 6.4 cm wide cardboard strip)
- Size US 4 (3.5 mm) straight knitting needles
- Yarn needle / tapestry needle
- Sharp scissors
- Hot glue gun and all-temperature glue stick
- Ruler or measuring tape
Choosing and Preparing Your Yarn
Selecting the right yarn texture and weight directly influences the final look of your Gonks. A medium worsted weight (size 4) acrylic yarn works best for this design because its defined ply holds the ribbed hat stitches crisply without stretching out of shape. The acrylic fiber also gives the beard strands enough body to hang straight downward or hold tight side braids without drooping.
Avoid slippery mercerized cottons, heavy novelty yarns, or delicate single-ply wools for the hat. Cotton lacks the natural elasticity needed for the 1×1 ribbed brim to hug the cardboard core firmly. When preparing the Heather Grey beard strands, measuring and cutting them uniformly before assembly ensures an even base line, which minimizes trimming waste later.
Pro tip: Wrap your beard yarn around a piece of 5 in (12.7 cm) stiff cardboard and slice through one end to produce clean, identical 10 in (25.4 cm) strands in seconds.
Step-by-Step Instructions for Your Gonks
Follow the complete knitting pattern and assembly sequence below to construct your decorative figure from start to finish.
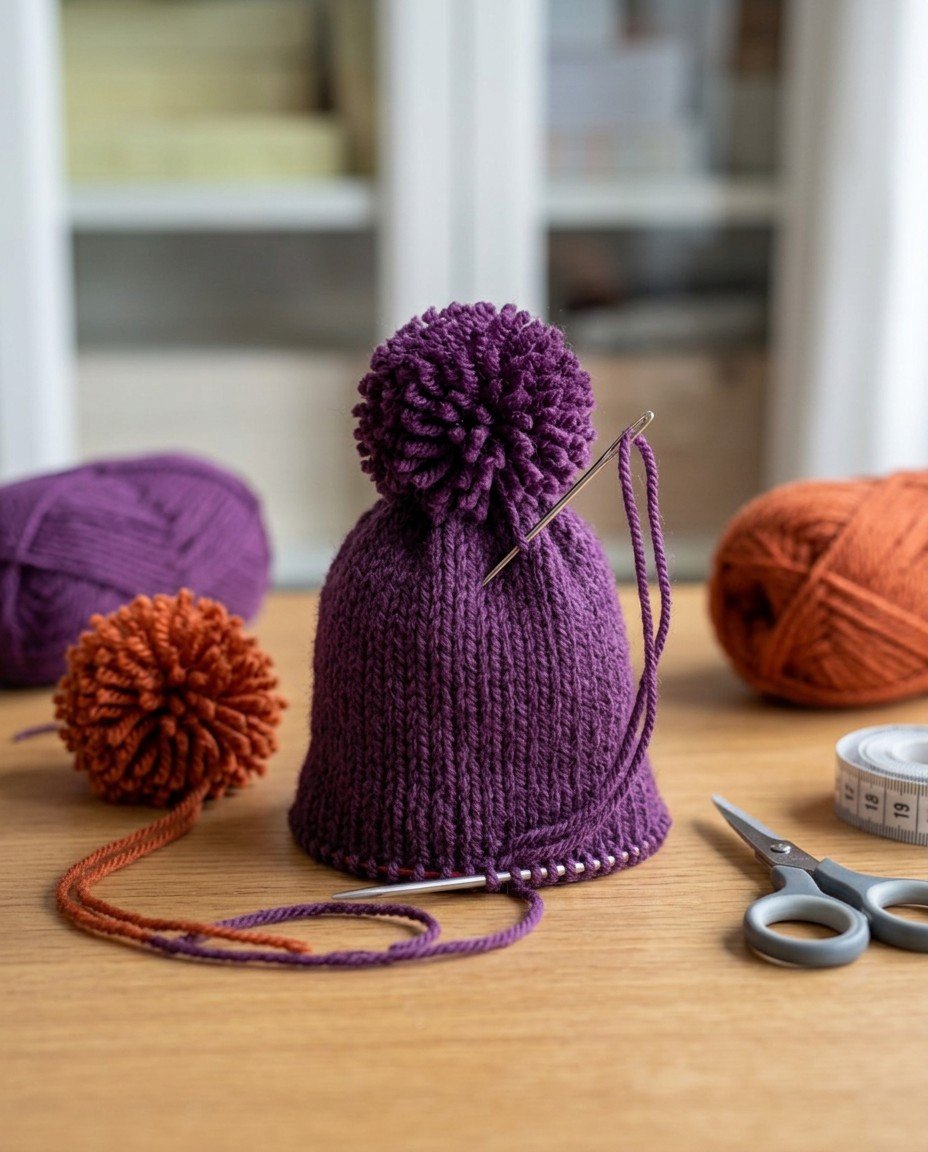
Finished size: 5.1 in (13.0 cm) wide x 2.8 in (7.1 cm) long (calculated from the gauge)
Gauge: 22 sts x 30 rows = 4 in (10 cm) in 1×1 ribbing unstretched on US 4 (3.5 mm) needles
Abbreviations (US terms)
| Abbreviation | Meaning |
|---|---|
| k | knit |
| p | purl |
| k2tog | knit 2 stitches together (decrease) |
| p2tog | purl 2 stitches together (decrease) |
| rep | repeat |
| RS | right side |
| WS | wrong side |
| sts | stitches |
| tog | together |
Pattern Notes
- The miniature hat is knitted flat in 1×1 ribbing from the bottom up, shaped at the top with simple decreases, and seamed along the back edge using the mattress stitch.
- A 1×1 rib stitch pattern is worked over an even multiple of 2 stitches: *k1, p1* across every row.
- The body base is formed from a sturdy 1.5 in (3.8 cm) cardboard tube segment, around which the grey yarn beard is secured before capping with the knitted hat.
- The wooden bead nose is hot-glued directly beneath the folded brim of the knitted hat, nestling into the yarn beard.
Knitted Ribbed Hat (Rust Orange)
- Cast on 28 sts using the long-tail cast-on method with Rust Orange yarn leaving an 8 in (20 cm) tail for seaming (28 sts)
- Row 1: (RS): *k1, p1* rep from * across (28 sts)
- Rows 2-18: *k1, p1* rep from * across (28 sts)
- Row 19: (RS – Decrease): *k2tog, p2tog* rep from * across (14 sts)
- Row 20: (WS): *k1, p1* rep from * across (14 sts)
- Row 21: (RS – Decrease): *k2tog* rep from * across (7 sts)
Finishing
- Cut the Rust Orange working yarn leaving an 18 in (46 cm) tail. Thread the tail onto a yarn needle, pass through all 7 live stitches on the knitting needle, and pull tight to cinch the crown closed.
- With RS facing, seam the side edges of the hat together down to the cast-on edge using mattress stitch. Turn hat right side out and fold up the bottom 0.5 in (1.3 cm) of the ribbing to create a brim.
- Make the Pom-Pom: Wrap Rust Orange yarn around a 2.5 in (6.3 cm) cardboard pom-pom template 60 times. Tie a separate 12 in (30 cm) strand of Rust Orange yarn tightly around the center, cut the loops open, and trim the pom-pom into a dense, round sphere, keeping the center tie tails intact.
- Using the yarn needle, thread the pom-pom tie tails through the cinched crown of the hat into the inside and knot them securely. Trim the inside ends.
- Make the Hanging Loop: Cut an 8 in (20 cm) strand of Rust Orange yarn. Thread it through the top crown stitches beneath the pom-pom, knot the two ends together to form a 3 in (7.6 cm) loop, and hide the knot inside the pom-pom base.
- Prepare the Beard: Cut 32 strands of Heather Grey yarn, each 10 in (25.4 cm) long.
- Attach Beard to Base: Working around the outer circumference of the 1.5 in cardboard tube, apply a line of hot glue 0.5 in (1.3 cm) below the top edge. Press the midpoint of the grey yarn strands side by side into the glue so they hang downward covering the entire perimeter.
- Assemble Hat to Base: Apply a thin ring of hot glue along the top outer edge of the cardboard tube. Slide the knitted hat over the top of the tube until the folded brim covers the glued tops of the beard strands by 0.25 in (0.6 cm). Press firmly to secure.
- Attach Nose: Apply hot glue to the back of the 1 in (2.5 cm) wooden bead (positioning the hole horizontally or hidden behind). Press the bead firmly against the beard strands directly centered under the folded hat brim.
- Style Beard: Separate the beard into three equal sections on each side of the nose. Braid the side sections down 2 in (5 cm) and secure each braid tightly with a 6 in (15 cm) strand of Purple yarn tied in a neat bow. Leave the center beard straight.
- Trim the bottom ends of the beard evenly with sharp scissors to your desired finished length.
Variations and Customizing Your Knitted Gonk
Once you finish your initial piece, you can adjust visual details while keeping the core construction identical:
- Hat Color Palettes: Swap the Rust Orange yarn for deep forest green, navy, or mustard yellow while maintaining the same worsted weight yarn for the hat and pom-pom.
- Beard Styling: Instead of side braids with Purple accent ties, leave all 32 strands straight for a classic flowing beard, or divide the beard into two thicker pigtail braids.
- Pom-Pom Density: For an extra dense topper, increase the cardboard template wraps from 60 up to 75 wraps before trimming the sphere.
Troubleshooting Common Gonk-Making Issues
Small assembly adjustments help solve common alignment and tension issues quickly.
| Problem | Cause | Solution |
|---|---|---|
| Hat slips off the cardboard base | Glue ring placed too low or ribbing stretched too wide | Apply the thin hot glue ring directly to the top edge of the cardboard tube and press the brim firmly for 15 seconds. |
| Beard looks sparse or shows cardboard | Grey strands spaced too far apart during gluing | Butt the midpoints of the 32 yarn strands tightly against each other in a dense line 0.5 in (1.3 cm) below the rim. |
| Wooden bead nose sits crooked | Hole orientation visible or glued over uneven braid bulk | Orient the bead hole horizontally, place glue generously on the back, and center it right beneath the folded hat brim against the straight center strands. |
| Uneven crown cinch | Yarn tail not drawn tightly through the 7 remaining stitches | Thread the tail through all 7 live stitches and pull tight to cinch the crown closed. |
Care and Washing
Spot clean only with a dry or slightly damp cloth; do not submerge in water due to internal cardboard structure and glued wooden bead.
Frequently Asked Questions
Can I knit the hat in the round instead of flat?
This pattern is designed and written to be knit flat on US 4 (3.5 mm) straight needles and seamed with mattress stitch. Knitting flat provides clean edge tension for the turned-up brim and allows beginners to work without double-pointed needles.
What is the best way to attach the wooden bead securely?
Apply a generous dab of hot glue directly to the back of the 1 in (2.5 cm) wooden bead, ensuring the hole runs horizontally. Press the bead firmly against the straight center beard strands directly below the folded hat brim until the glue cools completely.
Can I use roving instead of cut yarn strands for the beard?
Roving behaves differently under hot glue, pulls apart easily when handled, and is not covered by this construction method.
How do I adjust the finished size of the gonk?
The instructions provide sizing for a finished piece measuring width 5.1 in, length 2.8 in, circumference 5.1 in. Other sizes are not covered by this pattern, as changing dimensions requires altering the cardboard tube diameter, stitch counts, and bead size.
Displaying Your Finished Handcrafted Gonk
Completing your project gives you a sturdy, character-rich accent piece ready for seasonal displays or year-round shelving decor. These Gonks bring handmade warmth wherever you hang them by their secure top loop. To keep the finished silhouette looking crisp, run your fingers down the straight center beard strands and gently fluff the pom-pom before setting your gonk in place.