In this post
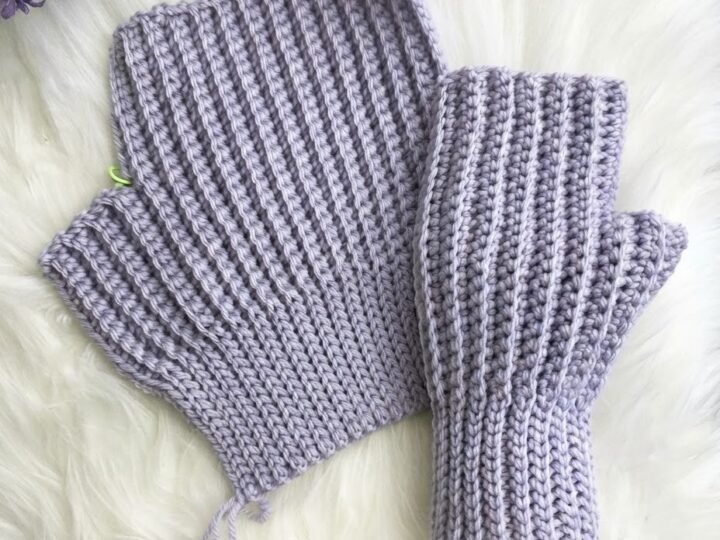
The Herringbone Stitch is a textured pattern you can add to your crochet repertoire. If you have ever wanted to create a thick fabric with clean, diagonal lines without working complex color charts or post stitches, this technique delivers exactly that. By making a slight modification to how you pull up loops during a standard half double crochet, you create a dense, chevron-like texture with plump, clearly defined stitches that lay flat and feel substantial. This intermediate guide teaches you how to master the technique by crocheting a classic 6 in x 6 in (15 cm x 15 cm) practice swatch in about 1 hour. You will learn the exact mechanics of the stitch, how to maintain even tension on your slanted loops, and how to keep your turning edges completely straight from the foundation row to the bind-off.
Mastering the Herringbone Stitch
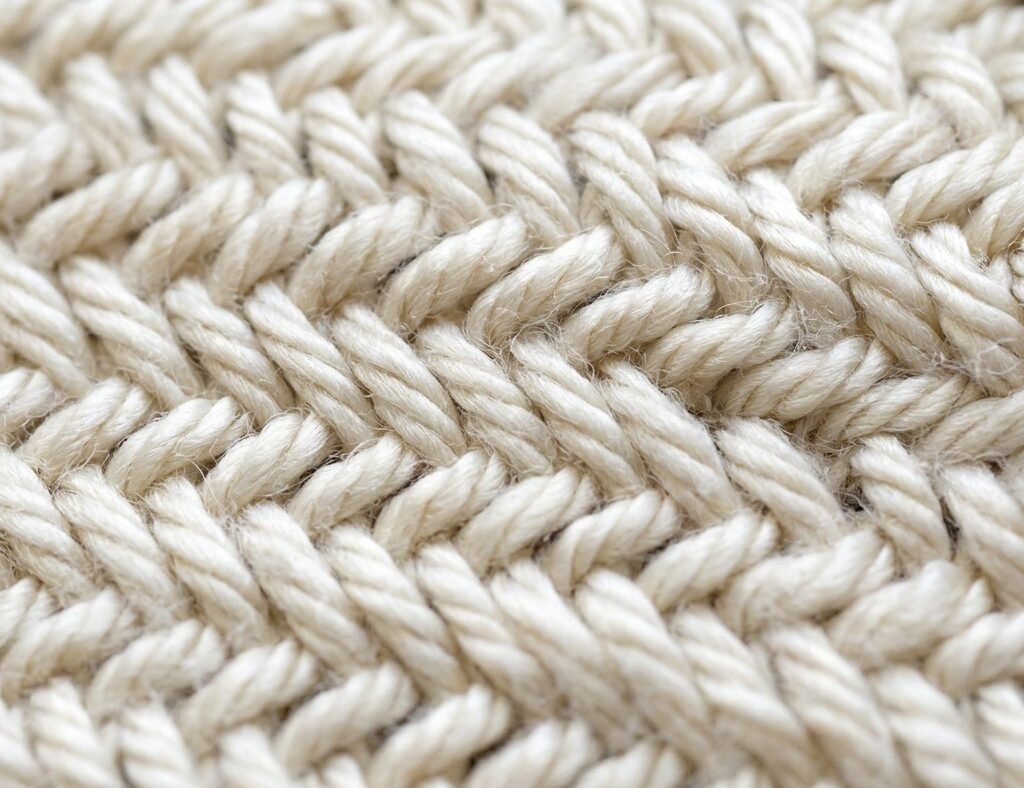
In crochet, the Herringbone Stitch (specifically the herringbone half double crochet) produces a geometric fabric characterized by alternating diagonal slants. When you work back and forth in flat rows, the stitches slant to the right on right-side rows and to the left on wrong-side rows. This alternating alignment creates a distinct chevron-like pattern across the fabric surface. The resulting texture is solid and thick with minimal gaps, making it far denser than traditional open crochet stitches.
Because the yarn is drawn through the first loop immediately after inserting your hook into the stitch, the horizontal bar of each stitch is pulled downward at an angle. This structural shift creates plump, defined stitches that show up clearly in smooth fibers. You can use this stitch for household items, bags, blankets, and accessories where you want extra weight and opacity.
Pro tip: Always choose a smooth, plied yarn rather than a fuzzy or single-ply yarn when practicing this stitch. A crisp yarn surface highlights the geometric alignment of the slanted loops so you can easily spot your stitch anatomy.
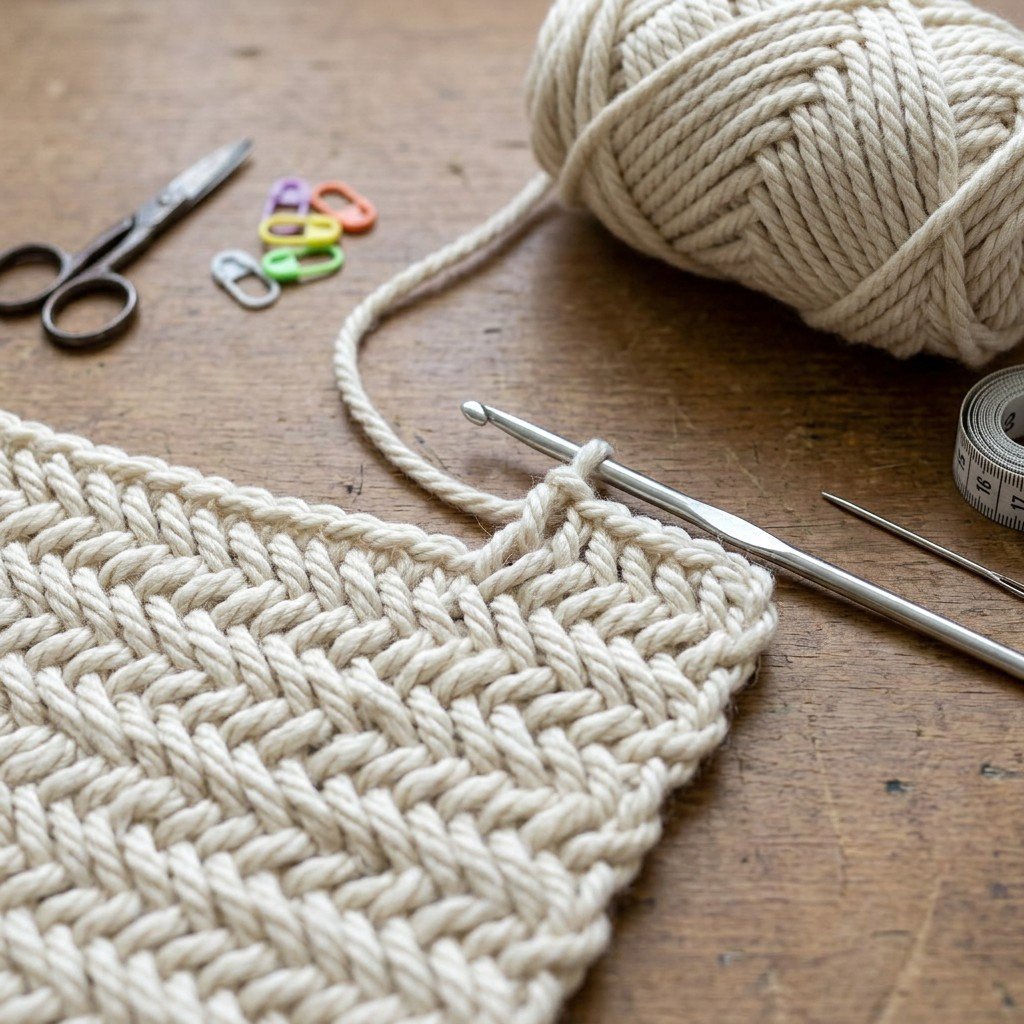
Tools and Materials for Your Swatch
Working a small 6 in x 6 in (15 cm x 15 cm) swatch helps you match the target gauge of 16 sts x 12 rows = 4 in / 10 cm before applying this technique to larger projects.
- Yarn: 1 skein worsted weight (4) cotton or acrylic yarn, approx. 100 yds (91 m). A smooth, slightly glossy finish highlights the stitch definition.
- Crochet Hook: 5.5 mm / I-9 crochet hook (or size needed to obtain gauge).
- Yarn Needle: Blunt-ended tapestry needle for weaving in tails securely.
- Scissors: Sharp craft scissors for a clean cut.
Abbreviations (US Terms):
- ch: chain
- sl st: slip stitch
- hhdc: herringbone half double crochet
- st(s): stitch(es)
- yo: yarn over
Step-by-Step Method
Once your tools are in hand, establish your working tension early to ensure your edges do not curl inward as the fabric grows.
Foundation and Baseline
- Tie a slip knot onto your 5.5 mm / I-9 hook, leaving a 6 in (15 cm) tail for finishing.
- Chain 26 stitches loosely. This foundation count allows for 24 working stitches across plus 2 turning chains.
- Yarn over, insert your hook into the third chain from the hook (the skipped 2 chains count as the first stitch of Row 1).
- Yarn over and pull the yarn through the chain and directly through the first loop on your hook (2 loops remain on hook).
- Yarn over and pull through the first loop on your hook (2 loops remain on hook).
- Yarn over and pull through both remaining loops on your hook. This completes your first baseline herringbone half double crochet.
- Work 1 hhdc into each remaining chain across the foundation chain (24 sts total, including the starting ch-2).
Executing the Herringbone Half Double Crochet
- Chain 2 and turn your work. This ch-2 counts as the first stitch of the new row.
- Yarn over, insert hook into the first stitch.
- Yarn over and draw the yarn through the stitch and immediately through the first loop on your hook. Keep this slip-motion loose to prevent the stitch from tightening up.
- Yarn over and draw your yarn through the first loop currently on the hook.
- Yarn over and draw your yarn through the remaining two loops on the hook to close the stitch.
- Repeat steps 9 through 12 across the row until you reach the turning chain from the previous row.
- Yarn over, insert your hook under the top two strands of the turning ch-2 at the end of the row, and work your final hhdc into that chain (24 sts).
Completing the Swatch
- Repeat the row instructions (steps 8 through 14) until you have completed 18 total rows. Your swatch should measure 6 in x 6 in (15 cm x 15 cm).
- Cut your working yarn, leaving a 6 in (15 cm) tail. Pull the tail through the active loop on your hook and tighten to fasten off.
- Thread your yarn needle with the tail and weave it through the dense horizontal bars on the wrong side of your fabric for at least 2 inches (5 cm), reversing direction once to lock the yarn in place. Repeat for the foundation tail.
Pro tip: When working the initial pull-through in step 10, slide your hook slightly up onto the wider shaft rather than working on the narrow throat. This keeps the slanted loop open and prevents the fabric from pulling too tight.
Pro Tips for Consistent Tension
Achieving crisp diagonal rows requires deliberate handling of your hook angle and loop heights throughout each step of the stitch.
- Relax the initial slip motion: The step where you pull yarn through the stitch and the first loop is essentially a slip stitch. If your tension is naturally tight, pull that loop upward by 1/8 inch (3 mm) before yarning over for the next step.
- Match turning chain height: A standard chain-2 provides the correct height for herringbone half double crochet. If you find your edges bowing outward, replace the ch-2 with a chain-1, but ensure you place your last stitch of the return row directly into that chain.
- Count your stitches every third row: Because the top loops sit slightly behind the diagonal post, it is easy to accidentally skip the final stitch in the turning chain or work twice into the first stitch. Verify you have 24 stitches at every checkpoint.
- Keep hook parallel to the row: Avoid tilting the hook upward when drawing through loops; a horizontal hook orientation keeps the chevron ridge flat rather than puckered.
Common Mistakes and How to Fix Them
If your swatch is not matching the 16 sts x 12 rows gauge or shows uneven edges, the structural quirks of the herringbone stitch are usually the cause.
| Problem | Likely Cause | Fix |
|---|---|---|
| Fabric pulls inward and narrows | The first pull-through loop is pulled too tight against the hook shaft. | Lift your hook up slightly after drawing through the first loop to give the slanted bar extra ease. |
| Wobbly or jagged side edges | Missing the top of the turning chain on the final stitch of the row. | Place a stitch marker in the top of the ch-2 turning chain as soon as you make it so you never skip it on the return pass. |
| Stitch count increases each row | Working into both the first stitch and the turning chain. | Work the first stitch into the first stitch and ensure the last stitch is worked into the turning chain. |
| Chevron texture looks flat or indistinct | Yarn is split or hook size is too large for the yarn weight. | Switch to a smooth, plied worsted weight yarn and ensure your 5.5 mm / I-9 hook maintains firm loop control. |
Practice Project Idea
Your finished 6 in x 6 in (15 cm x 15 cm) swatch can be used around the home. If you worked your swatch in worsted weight (4) cotton yarn, it can function as a dishcloth or washcloth. The tight, textured herringbone ridges provide gentle scrubbing friction without scratching delicate kitchen surfaces or cookware.
Alternatively, if you used acrylic yarn, the swatch can serve as a mug rug for your desk. The single-layer fabric provides a coaster for warm mugs; for very hot items, use a trivet.
Care and Washing
To preserve the geometric texture and smooth finish of your herringbone crochet fabric, treat the item gently during laundering. For 100% cotton swatches and dishcloths, machine wash on a warm or cool gentle cycle using mild detergent. Lay the swatch flat on a clean towel and smooth the corners with your fingers into a square shape to dry, which helps maintain the 6 in x 6 in (15 cm x 15 cm) dimensions.
For acrylic items, machine wash in cold water on a delicate cycle in a mesh laundry bag. Avoid applying direct high heat from an iron or high dryer settings, as excessive heat can melt acrylic fibers and permanently flatten the raised herringbone ridges. Air drying flat ensures the plump, defined stitches retain their structure over long-term use.
Frequently Asked Questions
What is the difference between a regular half double crochet and a herringbone half double crochet?
A standard half double crochet requires you to yarn over, insert your hook, yarn over, and pull up a loop, leaving three loops on the hook before pulling through all three at once. The herringbone variation pulls that middle loop through the first loop on your hook immediately, creating an angled horizontal bar that shifts the stitch into a diagonal slant.
How do I keep the edges straight when crocheting the Herringbone Stitch?
To keep edges straight, work your first stitch into the first stitch after the turning chain and work the final stitch of the row into the turning chain. At the end of every row, make sure to work your 24th stitch into the top of the turning chain from the row below so your edges do not step inward.
Can I use wool yarn for the Herringbone Stitch swatch?
Yes, you can use worsted weight wool yarn for this swatch, provided it has a smooth, tightly plied twist. Tightly spun wool highlights the stitch definition well, while heavily brushed or single-ply wool may obscure the clean diagonal chevron pattern.
What hook size is best for worsted weight yarn in this stitch?
A 5.5 mm / I-9 crochet hook is the standard recommendation for worsted weight (4) yarn in this technique. Because the Herringbone Stitch naturally creates a tighter, denser weave than standard stitches, sizing up slightly to a 5.5 mm hook prevents the fabric from becoming overly stiff.
Putting Your Herringbone Stitch Swatch to Work
You have now mastered the mechanics, edge alignment, and rhythm required for the Herringbone Stitch. With your 6 in x 6 in (15 cm x 15 cm) swatch complete, check your final gauge against the standard 16 sts x 12 rows = 4 in / 10 cm baseline. Remember that keeping your hook level and pulling your first loop up slightly are the two keys to a relaxed, uniform texture. Use this solid stitch foundation whenever your next crochet pattern calls for structural stability, warmth, and clean geometric appeal.